You will see how to draw your finger in graphite pencils. Your subject is always available! Follow along and draw your own INDEX finger!
Drawing Stands by Itself!
Use PENCIL for this one! Graphite pencils from different BRANDS are available in different amounts of hardness and softness. The H pencils are harder and draw lighter. The B pencils are softer and draw darker. I used the H or 2H to start the drawing. As I worked towards darker values I also used the turquoise 2B, that you see here, for a bit darker values in this drawing. I used a darker 4B or 6B pencil when I layered more dark values into the shadows to then be smudged back into the 2B values. You can experiment and use different pencils to see how they work for you. There is no one brand or one way to use these pencils. Feel free to experiment and see what happens.
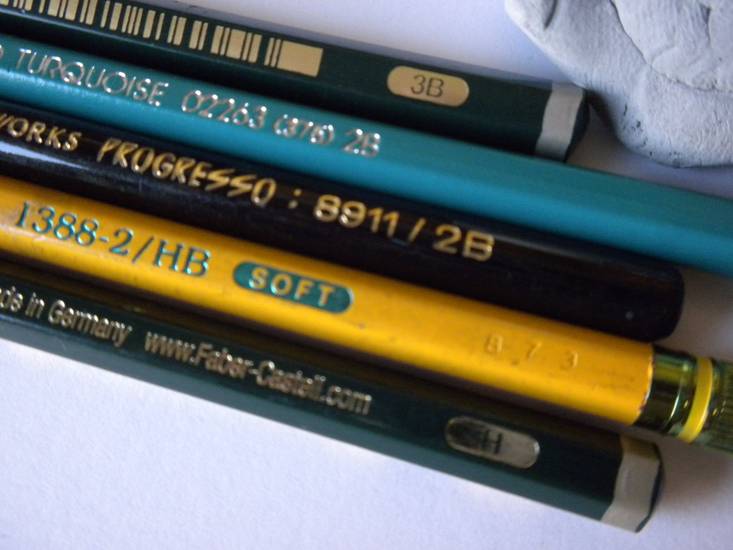
Look for the number of each pencil - like 3B and 6B- at the end of the pencil
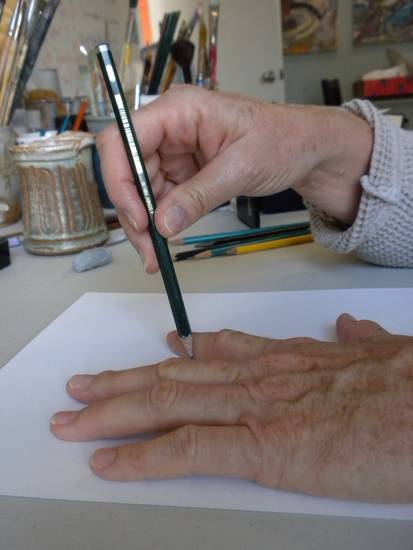
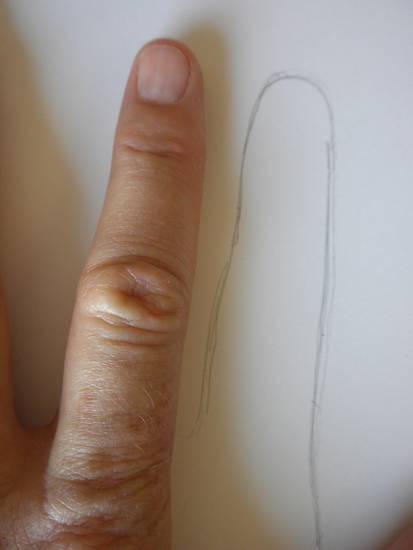
This is SO simple. You just use any pencil LIGHTLY or a harder pencil like an H or 2H which will make a lighter line on its own - again drawn LIGHTLY so that it doesn't crease the paper. Very important! ALSO: when you trace around your finger -- you will notice that I keep the pencil VERTICAL so that it doesn't slip UNDER the finger and make it too small or go OUT from the finger and make it too big.

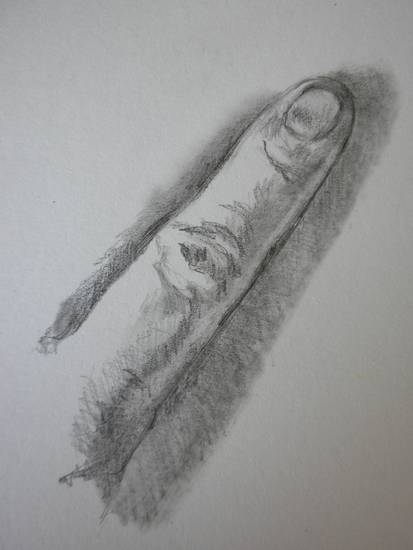
Draw the Nail and the Knuckles
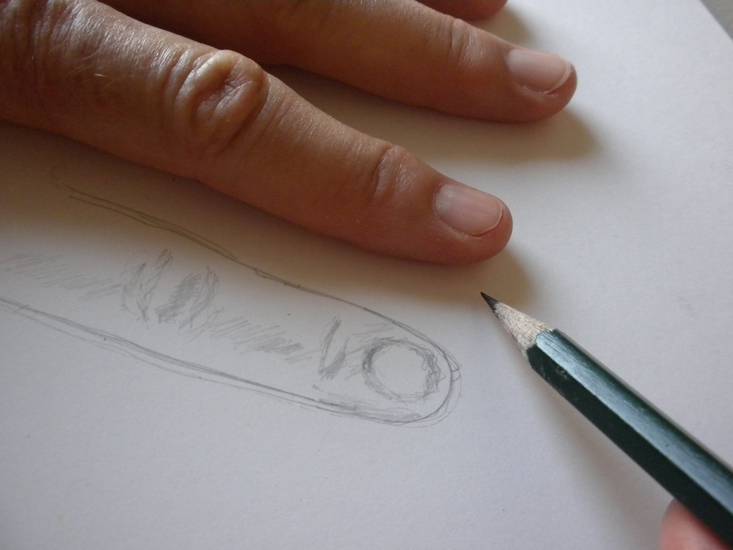
Now we start to look at stuff on the finger like the knuckles and the nail. We want to start placing these in with sort of a SOFT TOUCH. NOT hard, dark lines -- they are hard to adjust and remove -- so just sort of start to indicate where things are by touching the paper SOFTLY and maybe a bit scribbly too. Easy does it! It's not a race and don't try to get it all in for sure and in a final way when you are just starting and FINDING your way!

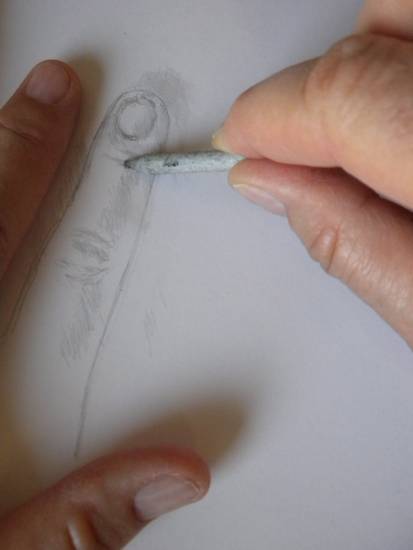
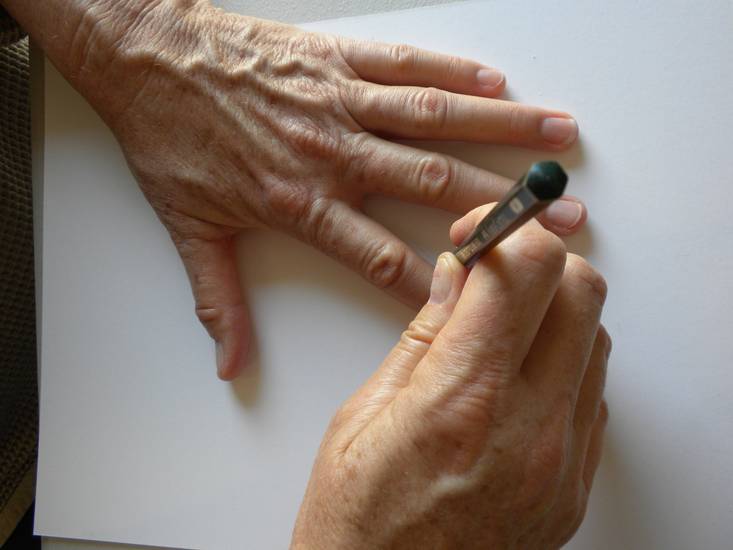
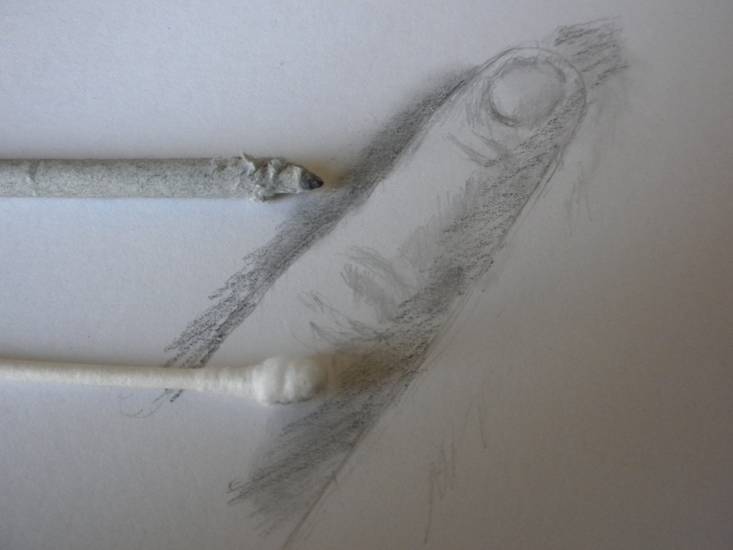
In the first two photos here I am LOOKING at the shadows. In the first photo the pencil is pointing to the shadow that my finger is casting. NOTICE the variation of value in the shadow. It will be important to see that the shadow is NOT black and that the values do change in the shadow. Again, I am drawing the shadows lightly and slowly. I've put a darker value over the finger in the second photo. The light was blocked next to my index finger by my center finger so I've made that area darker with a fairly dark initial layer of graphite. I'm smudging out the very first and barely there value of the shadow that falls out from the tip of my finger. You want to SEE and FEEL your way through. You must alternate between drawing and observing. OBSERVE the shadows on your finger and around your finger over and over. Each time you observe and then draw lightly and then observe again you will be more sensitive and see more.
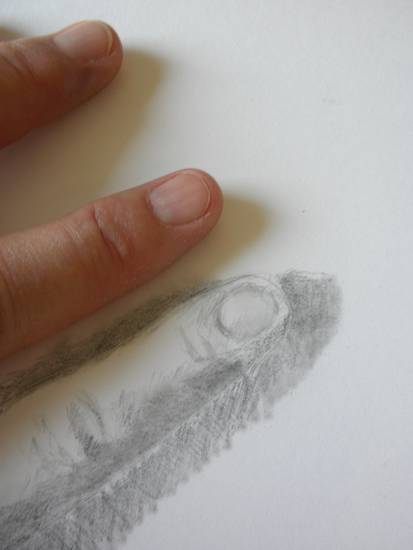
You can also see it the next photos that I've placed in some more of the knuckles and more value in the fingernail. Bring yours along slowly too -- working it all up at once as you move to more and more specificity (often called details.) Be careful as details have names and what you are looking for often isn't singled out with a name. Only drawing what is named gets in the way of seeing and thus being able to draw ALL of a subject!
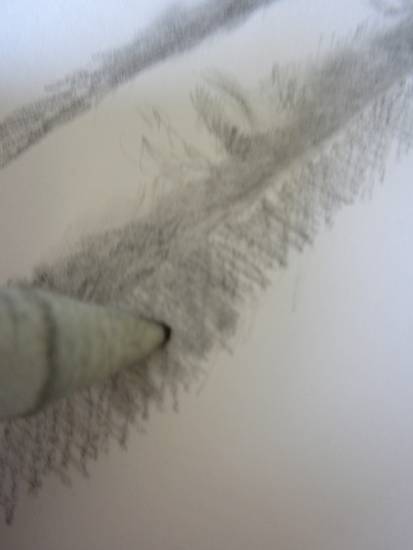
In the third photo I have drawn in what is called the core shadow. It is that darker shadow ON my finger that happens when my finger makes its big turn away from the light. It is darkest here because it turns away from the light and reflected light doesn't reach there as much as it does a little ways past that point. I am using the stump to then smudge the core shadow so that it reads as being one with the finger. The stump is a tool. You must watch what your are doing to be sure to INCREASE the effects in your drawing using the stump -- not just smooth things over and out.
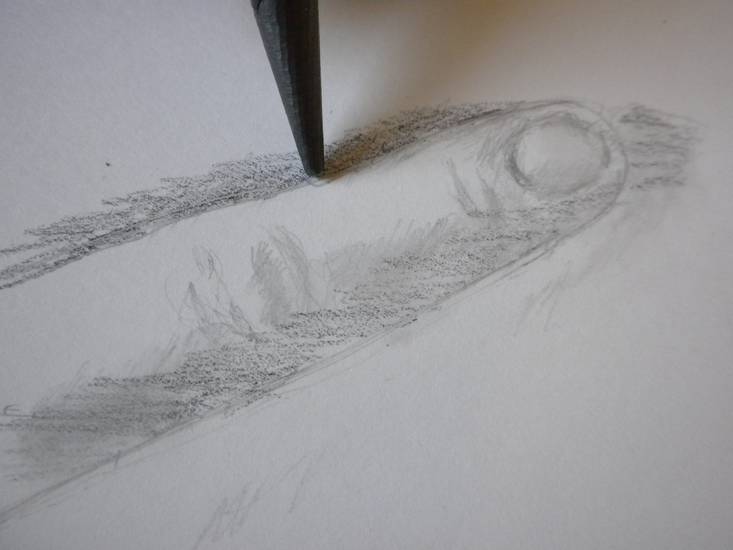
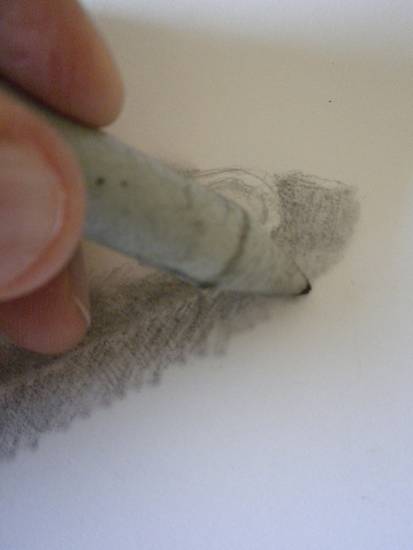
In the fourth photo -- I'm adding (YIKES!) some darker 6B graphite into the shadow areas that I will next SMOOTH and INTEGRATE into the shadow.
- ADD YOUR COMMENT -